

A couple of weeks ago I saw an illuminated LOVE canvas on Pinterest. It captured my imagination and I found myself gathering supplies... I was so excited to make my own version. I HAD to get it done before Valentine's Day! Sooo... on Sunday I got to it!
16 x 20 canvas
K & C Company Specialty Papers (Valentine's Themed) or whatever papers you like!
The Ultimate Glue
Hot Glue Gun
X-Acto Knife
Scissors
1 strand of 35 Rice-Style Lights (I found mine on Amazon, 3 strands - ready for more projects!)
Pencil

I had started formatting my letters and calculating the sizes earlier in the week on my Silhouette Studio software, I was ready to cut! Do you have a Silhouette? If you like how I've made my letters... it's your lucky day! Download all four files and you have a head start! :) All files are in Silhouette Studio format.
File 1 : L for LOVE Project
File 2 : {Heart} for LOVE Project
File 3 : V for LOVE Project
File 4 : E for LOVE Project
(Please do me the little favor of leaving me a comment, if you download... It's that validation thing I have a weakness for! I also want to make sure the file download worked like it should. Enjoy!)

Did I mention I LOOOVVVEE my Silhouette Cameo!!! I haven't even scratched the surface of what it can do! Here's the gorgeous paper loading into the miracle machine.
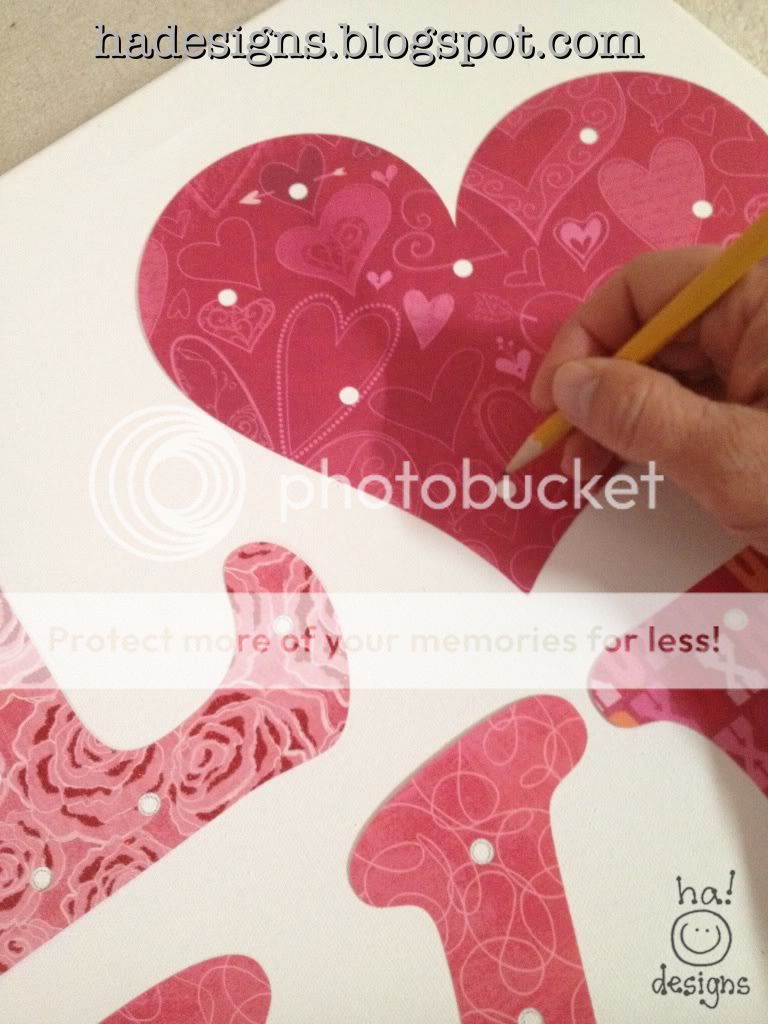
Once all the letters are cut out, place them as you would like on your canvas. Now trace around the interior light holes. This will make placing your letters back down super easy.
Then glue them down! I initially ran my letters through my Xyron, however they didn't seem to have a permanent bond to the canvas. I ended up having to lift them up and apply the Ultimate Glue. Now they are PERMANENTLY attached! :)
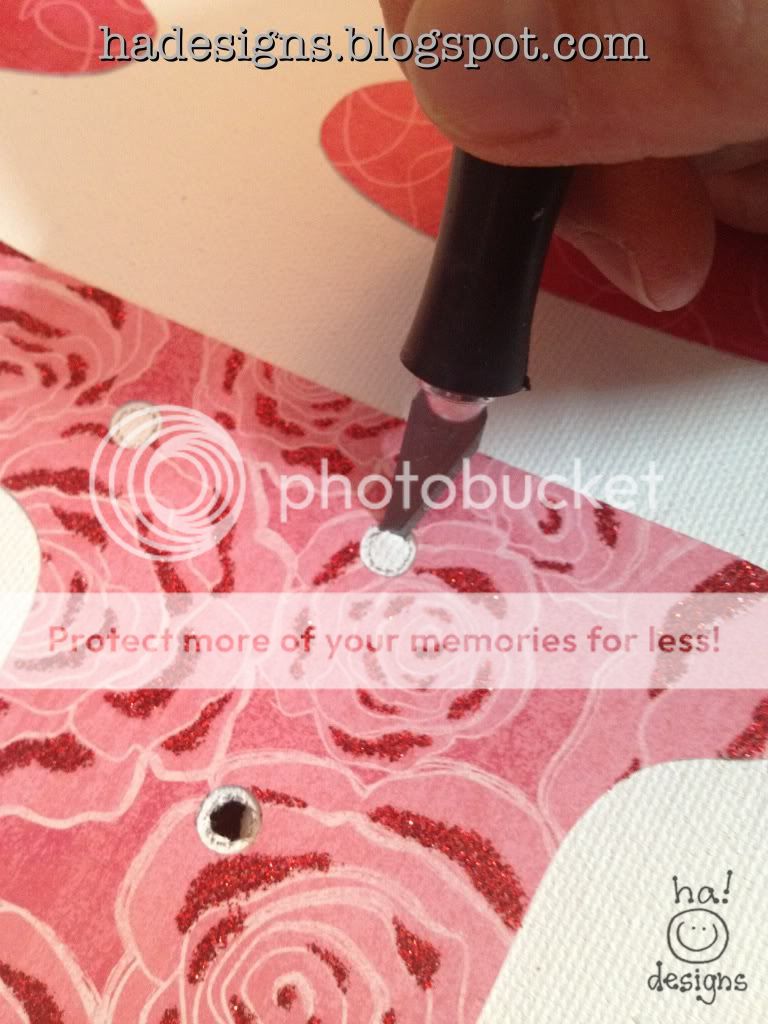
Once your glue has dried, it's time to pull out that X-Acto knife. (I am not responsible for any injuries... so be CAREFUL!) Cut out each of the 35 light holes. I used scissors to cut the last little flap off of the circle. This really made it a lot easier AND safer! You know... there is nothing funny about safety... Oh, I digress...
Get that light strand out... Now this is where it gets a little tricky. You need to make sure that your lights are going to reach all your little placement holes. If you are using my letters/layout it will work fine... if not make sure you take this into consideration prior to cutting out your light spacers.
Turn over your canvas and decide where you want your cord end to plug in out of. I wanted mine to be at the "E." I knew where I was going to put it in the house and the plug would be easier to reach from that side of the canvas. I started with the light nearest the plug and the lowest hole in the "E," did a little measuring to make sure the lights would reach easily from hole to hole, then created a dot to dot! I numbered the holes in pencil so that when I started gluing I wouldn't make a mistake and end up having to start over! I went from the "E" up to the "Heart" down to the "L" and up to the "V." Figure out what works best for you!
Time to glue! Yippee! Get that hot glue gun plugged in... (Also, test your light strand BEFORE gluing them in!) Now, you and I both know that when lights are plugged in they can create some warmth... so hot glue alone would not be good for this, you are using the hot glue to hold the light in while you wait for the Ultimate Glue to do it's job and dry and hold the whole thing in place... also if you feel your lights get too warm, don't leave unattended! (I have had mine plugged in for hours and it hasn't been an issue.)

I had a method to my madness here... I would hot glue 5 to 7 lights at a time and then go around them with the Ultimate glue, then move on to the next set. It makes it easier to get a good seal of glue all the way around them.
Here's what the lights look like from the side:

Finished! It looks great unlit too!
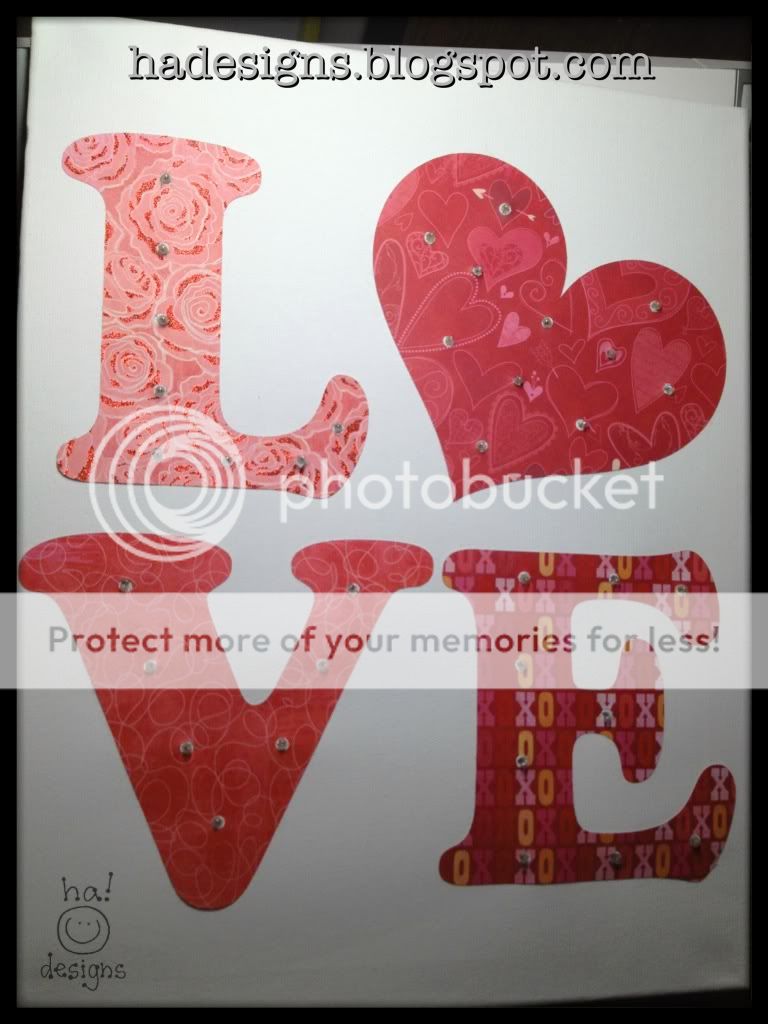
A fun and simply LOVE-ly (couldn't resist!) project!


