
Oh my... it's been an awfully long time since I've played here... I am BACK! Ahhhh.... home. I definitely have some catching up to do with projects I've made and not posted. Oh well... A step at a time! :)
I have had the most fun the last couple of days working on a card project. I am the lucky aunt of many darling nieces that LOVE princess things. I had to create something that would be good for their birthdays this year! (Of course, I've already missed a couple of the princess nieces birthday's this year and sent them store bought *gasp* cards... I will most likely have to make up for that!)
This is what I came up with:
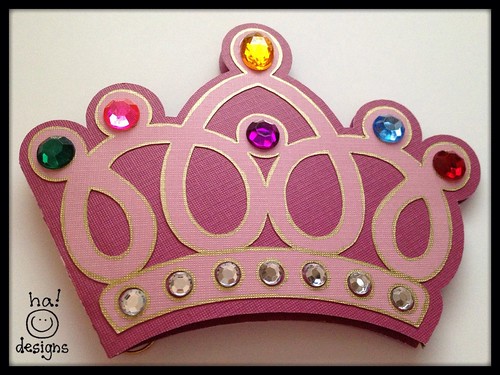
I can't think of many little girls who wouldn't LOVE getting a card like this! And the kicker is... after they read the pop-up "Happy Birthday" inside and my little personal message they get to WEAR IT LIKE A CROWN!!!! If you have seen any of my other cards you already know of my obsession of making cards that are "2 in 1!"
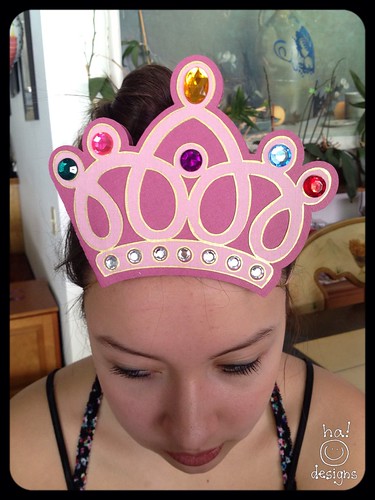
OK... Hold me back... Isn't that just adorable?!!! (Mainly because my beautiful and oh so patient daughter is modeling!) I am so excited with how it all turned out! Yippee!
This was a fairly simple project, after figuring out what I was going to do... Now that I have everything like I want, the next ones should go a little faster.
The Details & Supplies:
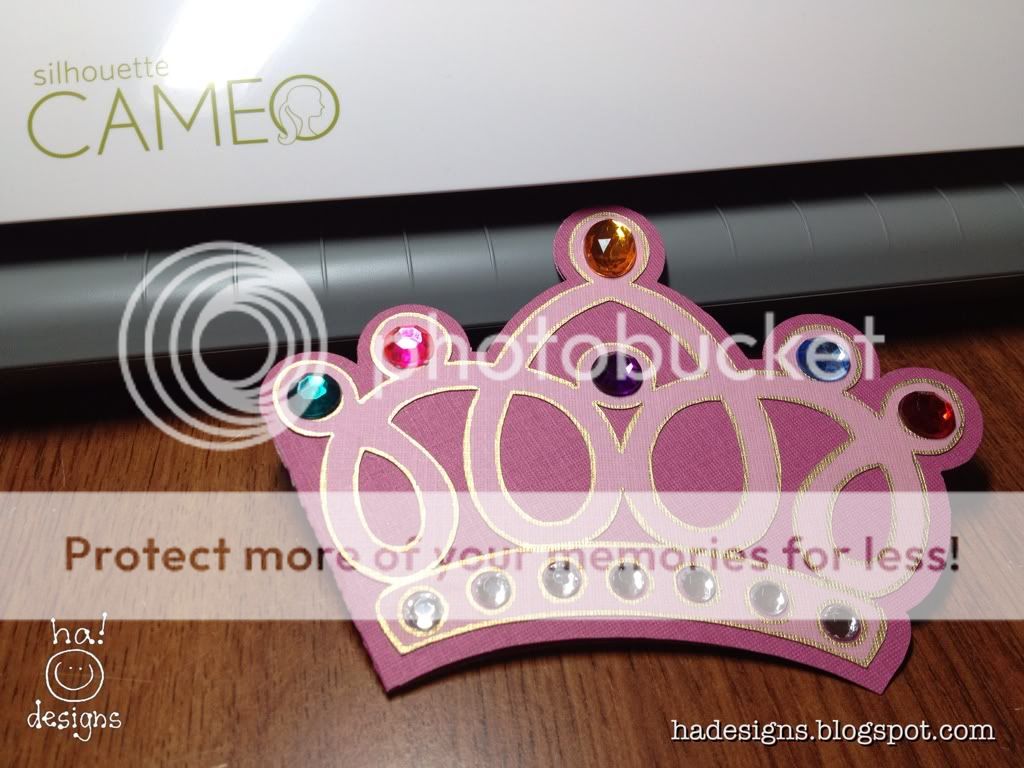
Silhouette Cameo (I LOVE this machine!!)
Card Stock - I used two colors
Xyron Sticker Maker
Fiskars Cutting Board & Martha Stewart Scoring Board (Great Tool!)
Scissors
Turbo Tacky Glue
Gold Pen-touch Marker
Assorted "Jewels"
Tiny Hole Punch
Elastic Cord
I am a relative newbie to the Silhouette Cameo... I have had it long enough to TOTALLY love it however! I have created some of my own designs and I have altered many designs to what I wanted... I have total creative reign! Ahhhh... the power.... :) It truly is amazing!
I used two shape designs for this project:
I opened up the Crown Card shape in the Silhouette software and I resized both elements so that the card shape would completely fill my 12" x 12" paper. I then opened the "Happy Birthday" phrase on a new document. I selected those elements and adjusted the size to what I thought would be perfect for my pop-up element. I copied these and pasted them on to the same document as the crown/card. I did it this way because I plan on making multiples of this card so I will cut out all the elements in two different card stock colors. Then mix and match the pieces for 2 cards. If you want to make one card only then you will need to separate your card elements by colors on separate documents or deselect elements to cut. Now... let that lovely Silhouette Cameo cut out your elements!
I used my trusty Gold Pen-Touch Marker to outline the filigree part of the crown. Ran it and the phrase (top word piece only) through my Xyron. Of course plain old glue works great here too! Just a little trickier on the tiny script. (Another option is to use the fabulous sticker card stock from the Silhouette store! Sometimes I make my own sticker paper before cutting... It works great!) Place the sticky pieces on their mates.
Now.... Here's where the Pop-Up element begins! I ADORE pop-up cards and I use lots of different techniques. This time I used the "floating layer technique." This is one of my favorite! (OK... I admit it... They are ALL my favorites!) I love how the floating layers technique makes the design appear to "float" in mid-air!
Here's how I did it for this card. First you begin by making the supports. Using scraps from the card base colored card stock I cut a piece 4 1/2" x 1". Scored down the length of this 1/4" from each edge.
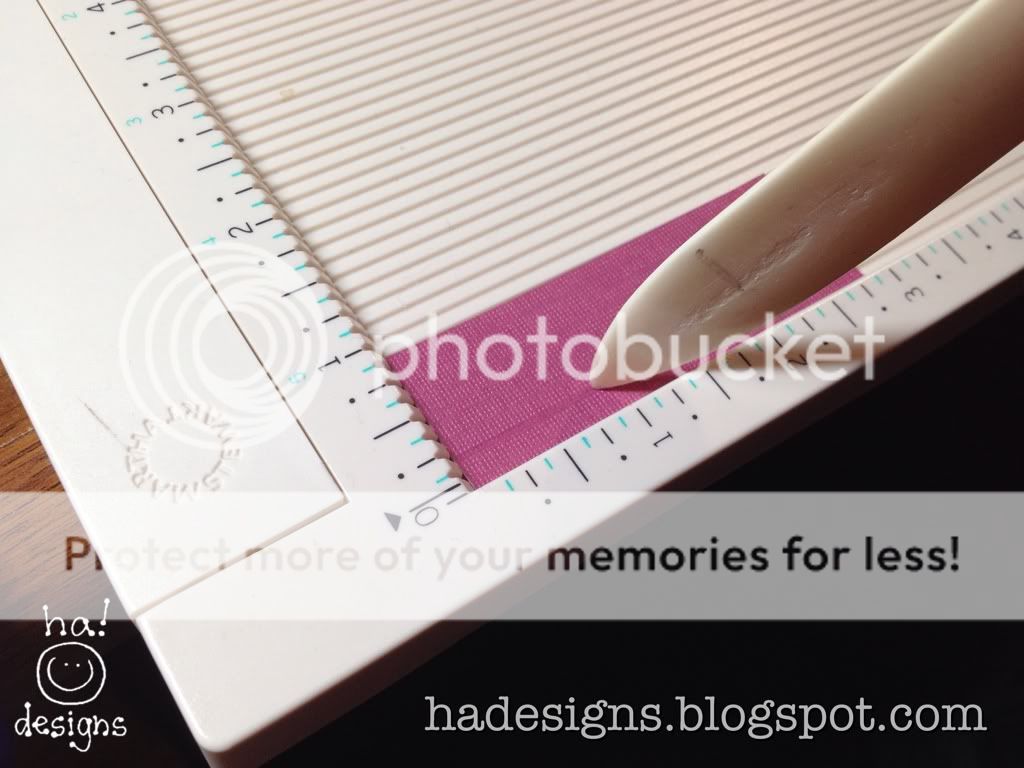
I then cut the long strip into 3 @ 1 1/2" lengths. Turned the strips over and scored across the width in half at 3/4". (My photos show these dimensions... I may adjust them to make the supports a little smaller for my subsequent cards.)

Take each strip and make a small cut up the mid crease of each strip, to separate the hem and create the support "feet."

Apply glue to one half of the inner face only (not feet) of each support. Close the support and press the two faces together. This completes the support form.

Carefully glue the base of one support EXACTLY over the gutter crease on the card. Glue the other two (one on each side of the center) down in line with the center. This is a small design so the support feet will be touching each other.

Crease your "Happy Birthday" phrase down the middle. Apply glue ONLY to the central support and carefully join the central crease of the layer to the central crease of the support.

Apply glue to the other supports... Flatten all three to the left (careful not to let the glue touch the underside of the floating layer yet!) Once all three supports are flattened to the left carefully lower the phrase layer onto the glued supports so that the whole structure lays flat. Make sure the glue adheres and then carefully pull the structure upright.

Yippee! A POP-UP!!
Here's what the card looks like at this point...

Now for the fun decorating! Glue all the jewels you like onto the front of the card. Ahhhh.... ssoooo sparrrkkklllyy!
What about making it a crown?! Use a small hole punch and make a hole on each side of the back piece of the card only. About an inch up from the bottom or so. Thread the elastic cord through, tie a knot... I also punched out a larger circle of matching card stock to glue over the ends of the elastic cord to tidy it up and hopefully make it a little stronger.
That's all there is to it! Enjoy!
I'd love to hear from you! Please leave a comment...


No comments:
Post a Comment
Thanks for stopping by to visit... AND especially for leaving me a message! :)